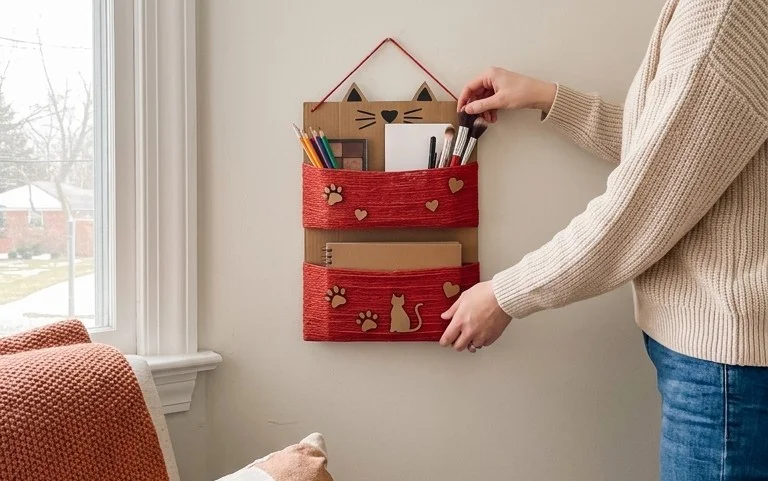
Easy Office Organization Ideas for a Joyful Home
Office Organization Ideas can truly transform your home! Are you tired of papers piling up, pens rolling away, and that general sense of chaos that steals your focus and joy? Perhaps your home office, or even just a corner of a room, feels more like a storage unit than a space designed for productivity and peace. Imagine instead a calm, inviting workspace where everything has its place, files are neatly tucked away, and your desk is clear, ready for your next brilliant idea. Achieving this can be surprisingly simple and affordable, often costing less than a fancy coffee habit and taking just a weekend to implement. In this article, I’ll share practical, budget-friendly tips to help you declutter, create functional zones, and inject a touch of personality into your home office. Get ready to discover how to create a space that not only helps you get things done but also brings a smile to your face!
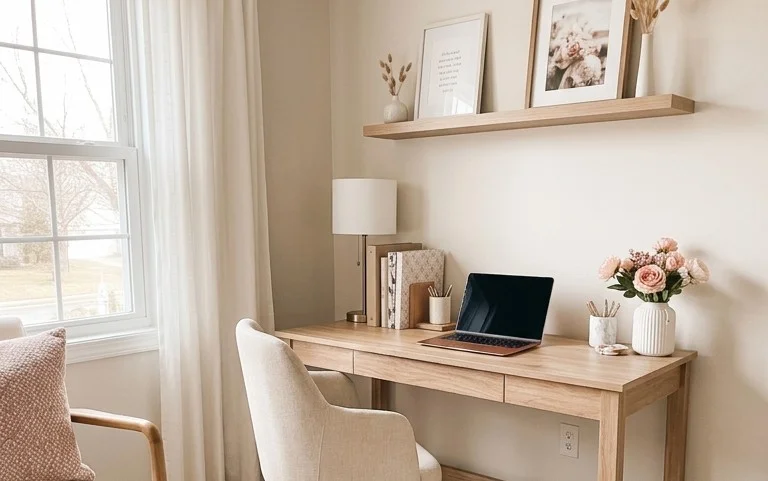
Creating Your Joyful Home Office: Organization That Inspires
Hello, fellow homemakers! Today, we’re diving into a topic that can feel daunting but is ultimately so rewarding: transforming your home office into a space that not only functions flawlessly but also sparks joy. A well-organized office isn’t just about neatness; it’s about creating an environment where you can focus, be productive, and even find a little creative inspiration. Let’s get this done together!
What You Need and What It Costs (Roughly)
Before we even think about decluttering, let’s talk about the essential tools for office organization. The beauty of this process is that you can tailor it to your budget and needs.
Here’s a breakdown of what you might need and an estimated cost:
* **Desk Organizers:** Think pen cups, letter sorters, drawer dividers, and small trays. For a good set, you’re likely looking at $20-$50. Materials can range from bamboo and wood (pricier) to plastic and metal (more budget-friendly).
* **Shelving/Storage Units:** This is where the cost can vary the most.
* **Floating Shelves:** For a few shelves, expect to spend $30-$100. These are great for displaying items and can be installed with minimal impact.
* **Bookcases/Cube Storage:** A small 3-tier bookcase might cost $40-$80, while a larger cube storage unit could be $70-$150.
* **Wall-Mounted Organizers/Pegboards:** These are fantastic for vertical space and can range from $25-$75 depending on size and materials.
* **Filing Solutions:**
* **Filing Cabinets:** A small, portable two-drawer cabinet can be $50-$100. A larger, more substantial one could be $100-$250.
* **File Boxes/Magazine Holders:** These are excellent for paper management on a shelf or desk and typically cost $5-$20 each.
* **Containers and Bins:** For corralling smaller items, baskets, clear plastic bins, or fabric boxes are invaluable. Budget $10-$50 depending on how many you need and their quality.
* **Labels:** Don’t underestimate the power of a good label! A label maker can be an investment ($30-$60), or you can use simple paper labels and a pen ($5).
* **Cable Management:** Zip ties, velcro straps, or cable clips are cheap and cheerful, usually under $15.
**Estimated Total Cost:** For a comprehensive setup, you might spend anywhere from $150 to $600. Remember, you don’t need everything at once! Start with the essentials and build from there.
How to Measure and Plan Before You Start
This is the crucial step that many of us skip, leading to frustration and wasted money! Taking a little time to plan will save you headaches later.
1. **Assess Your Current Space:**
* **Measure your desk:** What’s the usable surface area? How deep are the drawers? Measure your existing shelves.
* **Measure your walls:** Where are the prime spots for shelves or wall-mounted organizers? Note the height of your ceiling if you’re considering tall storage.
* **Identify your needs:** What items do you *really* need to store? Papers, books, stationery, tech gadgets, art supplies? Be specific.
* **Consider your workflow:** How do you use your office? What do you reach for most often? What needs to be easily accessible?
2. **Declutter Ruthlessly (But Kindly):** Before buying anything, go through everything in your current office space.
* **The “Keep, Donate, Toss, Relocate” Method:**
* **Keep:** Items you use regularly, need for reference, or truly love.
* **Donate:** Items in good condition that you no longer need or use.
* **Toss:** Broken items, old notes, expired supplies.
* **Relocate:** Items that belong elsewhere in the house.
* **Be Honest:** Ask yourself: “When was the last time I used this?” “Do I have duplicates?” “Is this still serving a purpose?”
3. **Sketch It Out:** Grab a piece of paper and draw a simple floor plan of your office space. Even a rough sketch will help you visualize where things will go. Mark down the dimensions of your desk, windows, and any permanent fixtures.
4. **Plan Your Zones:** Think about creating distinct zones for different activities or types of items. For example:
* **Work Zone:** Your immediate desk area for active tasks.
* **Storage Zone:** Shelves and cabinets for less frequently accessed items.
* **Reference Zone:** Bookshelves or files for important documents.
* **Inspiration Zone:** A space for displaying personal items or artwork.
Your Step-by-Step Office Organization Walkthrough
Now that we’ve planned, let’s get organizing! This is where the magic happens.
1. **Clear Everything Out:** Yes, everything! Take everything off your desk, out of drawers, and off shelves. This gives you a clean slate and a true understanding of what you’re dealing with. It’s also a great opportunity to dust and clean surfaces.
2. **Sort and Purge (Again!):** With everything out, it’s easier to do another round of sorting. Group similar items together (e.g., all pens, all notebooks, all charging cables). This is when you’ll make those tough decisions about what to keep and what to let go. Aim to reduce the volume of items significantly.
3. **Implement Your Storage Solutions:**
* **Desk Organization:**
* **Pens and Pencils:** Use a pen cup or a divided tray. Keep your most-used writing tools here.
* **Paperwork:** A letter sorter or a small tray for incoming mail/documents you’re actively working on.
* **Small Supplies:** Drawer dividers are your best friend! Use them to separate paper clips, staples, erasers, sticky notes, etc.
* **Drawer Organization:**
* Dedicate drawers to specific categories. One drawer for tech accessories, another for stationery, another for personal items.
* Use smaller boxes or containers within drawers to keep things from rolling around.
* **Vertical Space (Shelving/Wall Organizers):**
* **Top Shelf:** For less frequently used items or decorative pieces.
* **Middle Shelves:** For books, binders, or frequently accessed files.
* **Lower Shelves/Cabinets:** For bulkier items or things you want to keep out of sight.
* **Pegboards/Wall Organizers:** Perfect for hanging supplies, small tools, or even inspiration boards.
4. **File Smarter, Not Harder:**
* **Active Files:** Keep files you refer to often in easily accessible file boxes or a portable filing cabinet.
* **Archived Files:** Store less frequently accessed documents in labeled boxes on higher shelves or in a designated archive area.
* **Go Digital Where Possible:** Scan important documents and save them to the cloud to reduce paper clutter.
5. **Tame the Cables:** Bundle cords together with zip ties or velcro straps. Use cable clips to route them along the back of your desk or wall, keeping them neat and out of sight.
6. **Label Everything:** This is non-negotiable! Clearly label drawers, bins, file boxes, and shelves. This not only helps you find things quickly but also makes it easier for others to put things away correctly.
Adapting for Small Spaces or Rentals
Don’t have a dedicated office room? No problem! Many of these principles apply to smaller areas or rentals where drilling isn’t an option.
* **Small Space Solutions:**
* **Multifunctional Furniture:** Opt for a desk with built-in drawers or shelving. A sofa bed with storage or ottomans with hidden compartments can double as office storage.
* **Vertical Storage is Key:** Utilize wall space with floating shelves, narrow bookcases, or wall-mounted organizers. Look for units that are only 10-12 inches deep.
* **Declutter Ruthlessly:** In a small space, every item needs to earn its place. Be extra discerning about what you keep.
* **Clear Containers:** Use clear bins so you can easily see what’s inside without having to pull everything out.
* **Rental-Friendly Solutions (No Drilling!):**
* **Command Hooks and Strips:** These are lifesavers for hanging lightweight items like pegboards, small shelves, or cable organizers. Follow the instructions carefully for removal.
* **Over-the-Door Organizers:** Perfect for storing supplies, stationery, or even a laptop.
* **Freestanding Storage:** Opt for bookcases, cube storage units, or rolling carts that can be moved easily.
* **Tension Rods:** Use these in cabinets or closets to create additional hanging space or to hang file organizers.
* **Adhesive Wall Pockets:** Great for holding mail, notebooks, or small supplies.
Styling Notes: Making It Beautiful and Functional
Organization doesn’t have to mean sterile! Let’s inject some joy and personality into your workspace.
* **Color Palette:** Choose colors that evoke the feeling you want. Calm blues and greens promote focus, while warmer tones like soft yellows or corals can bring energy. Use these in paint, storage bins, or decorative items.
* **Texture:** Introduce variety with baskets (wicker, felt), wooden desk accessories, or a cozy rug. Texture adds depth and warmth.
* **What Goes Where:**
* **Prime Real Estate (Desk Surface/Easy Reach):** Items you use daily – pen, notebook, phone charger, current project.
* **Eye Level (Middle Shelves/Wall Organizers):** Frequently referenced books, active files, inspiring quotes, a small plant.
* **Out of Sight (Lower Shelves/Drawers/Cabinets):** Bulk supplies, less used tools, archived documents, personal items you don’t need to see daily.
* **Decorative Touches:** Art prints, photos, a favorite mug, a small plant. These should be placed where they bring you joy without cluttering your work zone.
The goal is to have functional items be easily accessible, while less-used or purely decorative items can be placed where they look good but don’t get in the way.
Keeping It Tidy After Week One: The Long Haul
The initial organization is fantastic, but the real win is maintaining it.
* **The “One Touch” Rule:** Try to handle items only once. When mail comes in, deal with it immediately – file, discard, or action.
* **End-of-Day Tidy:** Spend 5-10 minutes at the end of each workday putting things back in their designated spots. This prevents small messes from snowballing.
* **Weekly Reset:** Dedicate 15-30 minutes each week (perhaps Friday afternoon) for a more thorough tidy. Clear your desk, process any new papers, and put away anything that’s drifted.
* **Regular Decluttering:** Schedule a mini-declutter every 3-6 months. Go through a drawer or a shelf and purge anything you haven’t used or needed.
* **”Inbox” System:** Have a designated “inbox” tray for new items that need processing. Schedule time to go through this regularly.
Mistakes That Make This Fail
Even with the best intentions, some pitfalls can derail our organization efforts.
* **Not Enough Decluttering:** Buying more organizers to store clutter is a common mistake. You must reduce the volume of items first.
* **Over-Complicating Systems:** If your system is too complex, you won’t stick with it. Aim for simplicity and ease of use.
* **Not Labeling:** This is a recipe for chaos. Without labels, you’ll forget where things go, and others won’t know either.
* **Buying Too Much at Once:** Resist the urge to buy all the organizers you *think* you need. Start with the basics, and see what works for your space and workflow. You can always add more later.
* **Not Assigning a “Home” for Everything:** If an item doesn’t have a designated spot, it will end up floating around and creating clutter.
* **Giving Up Too Soon:** Organization is a process, not a one-time event. There will be days when it feels like a mess again. Just gently guide things back into place.
Creating a joyful and organized home office is an ongoing journey, but by following these steps and staying mindful, you can build a space that supports your productivity and brings you peace. Happy organizing!
Conclusion
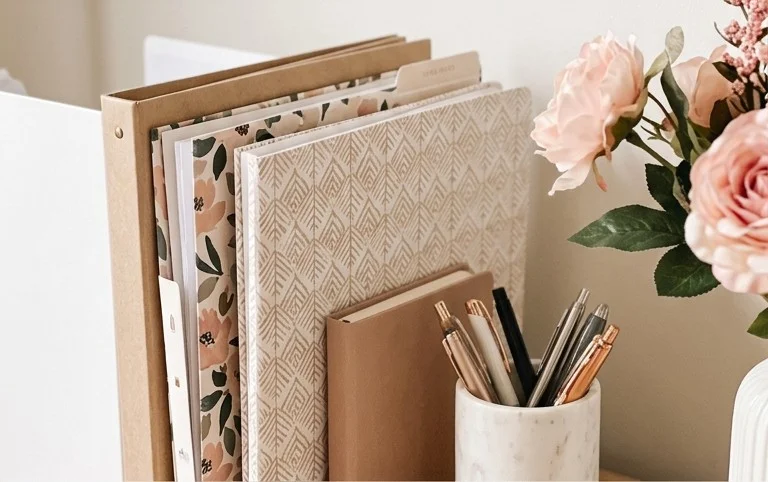
Transforming your office into a beautifully organized and functional space truly makes a difference in your day-to-day life. Imagine the calm and clarity that comes with knowing where everything is! Don’t feel overwhelmed by a complete overhaul. The smallest possible first step is simply to tackle one drawer or shelf today. Clear it out, wipe it down, and put things back with intention.
This principle of office organization can extend throughout your home. Consider a tidy entryway console for keys and mail, or a well-organized pantry for stress-free meal prep. No matter your budget or room, the joy of a clutter-free space awaits!
We hope these office organization ideas have inspired you. Explore more joyful homemaking tips on our site!